Now that we’ve covered how to assign oxidation numbers and how to balance redox reactions…
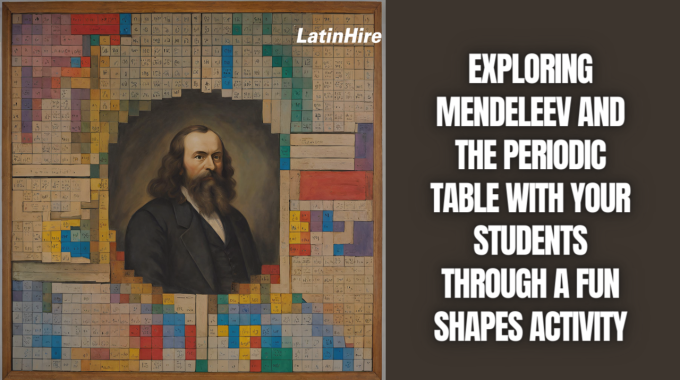
Exploring Mendeleev and the Periodic Table With Your Students Through a Fun Shapes Activity
The periodic table is the backbone of chemistry and is one of the most important tables to mankind. It is an amazing tool that allows us to understand the physical and chemical properties of all known chemical elements, which then allows us to understand the world around us.
Dmitri Mendeleev, a Russian chemist, played a vital role in the development of the periodic table by arranging elements according to their atomic mass and properties. Teaching the history of how the periodic table evolved can be challenging, but introducing interactive activities will always make the learning process more engaging and memorable.
In this blog post, we’ll explore a creative shapes activity that will help your students not only understand Mendeleev’s remarkable work but also appreciate his ingenious ability to predict the properties of missing elements! In this activity, we will be using shapes of different sizes and colors to represent the elements.
Introducing the Concept of Periodicity

Before diving into the activity, let’s discuss how to introduce the concept of periodicity to your students. Explain that the periodic table shows a recurring pattern of properties as we move from left to right and from top to bottom of the table. By knowing the location of an element, you can predict its chemical and physical properties. This pattern arises from arranging elements by increasing atomic number, which reflects the number of protons in an atom’s nucleus.
Activity with Shapes of Different Sizes and Colors
Prepare different sizes of geometric shapes (e.g. circles, squares, triangles, pentagons) with different colors but remove a few of them from the pack. You can use a real or virtual whiteboard depending on where you hold your classes. You can create little bags of these shapes and have students work in groups as well.
Step 1: Introduce the activity
Explain to your students that they will be creating their own “periodic table” using the geometric shapes to represent elements.

Step 2: Experiment with the shapes
Ask students to rearrange the shapes in a way that makes sense. They will likely categorize the shapes by size or color and then arrange them across and down according to their common properties.
Step 3: Building the “Periodic Table”
As students are organizing the shapes, they will discover patterns, which makes putting the other elements in a lot easier.
Step 4: Missing spots
When students have organized all of the shapes, they’re going to notice that there are certain spots missing. Ask them to identify the properties of those missing spots.

Step 5: Exploration and Discussion
Once the “periodic table” is complete, have a class discussion about the arrangement. Ask questions like:
- What do you notice about the shapes as you move from left to right across a row?
- Do you see any patterns as you move from top to bottom in a column?
- How does the size of the shapes and the colors relate to periods and groups?
At the end of this activity, explain Mendeleev’s contribution to the periodic table and how he organized the elements based on their atomic mass, just like how the students arranged their shapes based on properties of size and color. This led to the discovery of periodicity.
This periodic table shape activity can be an exciting engagement activity for students to get hands-on experience on how the periodic table was created.
What other activities do you use in your chemistry classes to teach more complicated concepts? Share them with us in the comments below!
Related Posts